How to paint artificial flowers?
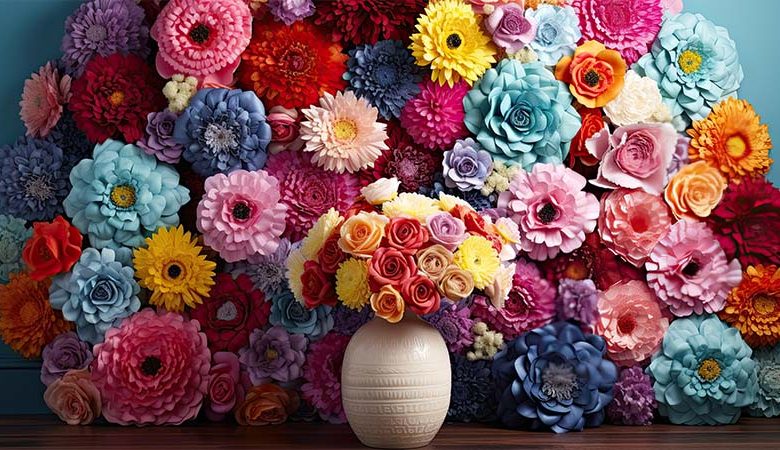
Painting artificial flowers is a fantastic way to customize their appearance and achieve a unique look that suits your style and decor. Whether you want to add a pop of color to plain flowers or create realistic shading and detail, painting allows you to unleash your creativity.
In this comprehensive guide, we’ll explore various techniques and tips for painting artificial flowers to achieve stunning results.
Preparing Your Workspace and Materials
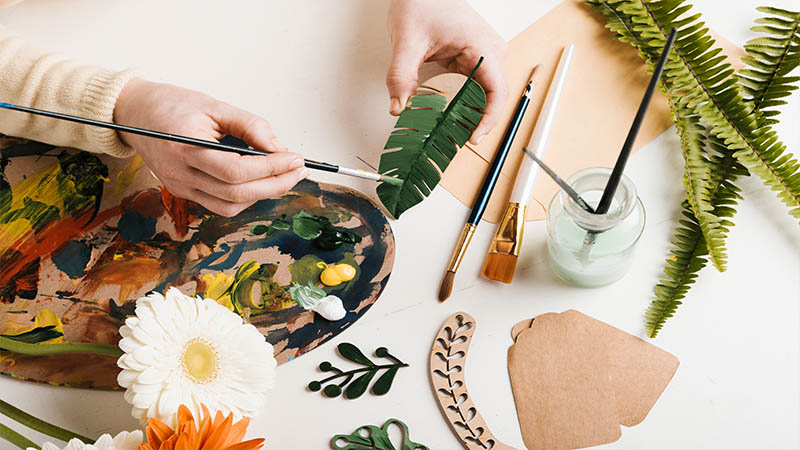
Before you dive into the colorful world of painting artificial flowers, it’s essential to set up your workspace and gather all the necessary materials. A well-prepared workspace will make the painting process more enjoyable and help you achieve better results.
Here’s a brief overview of what you’ll need and how to get started:

- Artificial flowers: Choose a variety of flowers in different shapes and sizes to experiment with. Whether you’re painting a single blossom or creating an entire bouquet, having a selection of flowers to work with will allow you to explore various techniques and designs.
- Acrylic paint: Acrylic paint is the preferred choice for painting artificial flowers due to its versatility, fast drying time, and ability to adhere well to different surfaces. Select a range of colors to suit your desired color palette and design.
- Paintbrushes: Invest in a set of soft-bristled paintbrushes in various sizes to accommodate different areas of the flower. Fine-tipped brushes are ideal for adding intricate details, while larger brushes work well for broader strokes and coverage.
- Palette or disposable plate: Use a palette or disposable plate to mix and blend your paint colors. This will allow you to create custom shades and experiment with different color combinations as you paint your flowers.
- Water cup and paper towels: Keep a water cup handy for rinsing your brushes between colors and a stack of paper towels or cloth for blotting excess paint and cleaning up spills.
With your materials gathered and your workspace prepared, you’re ready to dive into the exciting world of how to paint artificial flowers. Let your creativity flow as you explore different techniques and create beautiful floral masterpieces!
Choosing the Right Paint and Brushes
Selecting the appropriate paint and brushes is essential for achieving beautiful results when painting artificial flowers. With a wide variety of options available, it’s important to choose materials that will allow you to bring your artistic vision to life.
Read More: How to protect artificial flowers outside?
Here’s a brief overview of how to choose the right paint and brushes for your project:
Types of Acrylic Paint
When it comes to painting artificial flowers, acrylic paint is the preferred choice for its versatility and ability to adhere well to different surfaces. There are several types of acrylic paint available, each offering unique qualities and finishes.
Here are some common types of acrylic paint:
- Heavy Body Acrylics: These paints have a thick, buttery consistency and are ideal for creating textured effects and impasto techniques.
- Fluid Acrylics: Fluid acrylics have a thinner consistency similar to ink and are perfect for glazing, pouring, and fine detail work.
- Acrylic Inks: Acrylic inks are highly pigmented and can be diluted with water for transparent washes or used straight from the bottle for intense color saturation.
Choose the type of acrylic paint that best suits your painting style and desired effect when learning how to paint artificial flowers.
Selecting the Right Brushes
Choosing the right brushes is equally important when painting artificial flowers. Different brush shapes and sizes are suitable for various techniques and areas of the flower.
Here are some common brush shapes and their uses:
- Round Brushes: Round brushes have a pointed tip and are versatile for both detail work and broader strokes. They’re ideal for adding fine lines, dots, and intricate details to your painted flowers.
- Flat Brushes: Flat brushes have a square-shaped tip with straight edges, making them suitable for covering large areas and creating bold strokes. They’re great for applying base coats and background colors to your flowers.
- Filbert Brushes: Filbert brushes have a rounded tip with tapered edges, combining the versatility of round and flat brushes. They’re perfect for blending colors, creating soft edges, and adding subtle shading to your painted flowers.
Choose a selection of brushes in different shapes and sizes to accommodate various painting techniques and areas of the flower when exploring how to paint artificial flowers. Experiment with different brush strokes and techniques to achieve the desired effects and bring your artificial flowers to life with vibrant color and detail.
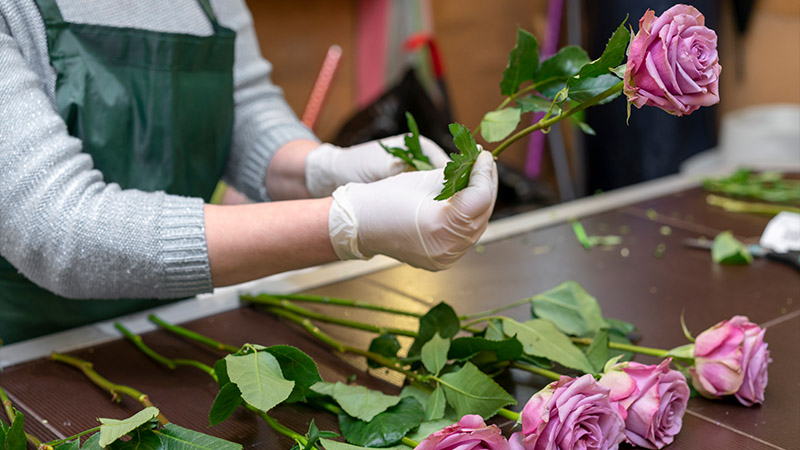
Preparing the Flowers for Painting
Before you start applying paint to your artificial flowers, it’s essential to prepare them properly to ensure the best results. Proper preparation will help the paint adhere better and create a smoother finish.
Here are some steps to follow when preparing the flowers for painting:
Cleaning the Flowers
The first step in preparing artificial flowers for painting is to clean them thoroughly. Dust, dirt, and debris can interfere with paint adhesion and affect the final appearance of your painted flowers.
Here’s how to clean artificial flowers:
- Damp Cloth or Sponge: Use a damp cloth or sponge to gently wipe down the surface of the flowers, removing any dust or dirt. Be careful not to use too much water, as it can damage the fabric or material of the flowers.
- Compressed Air: For delicate or hard-to-reach areas, use a can of compressed air to blow away dust and debris. Hold the can upright and use short bursts of air to avoid damaging the flowers.
Priming the Flowers (Optional)
While not always necessary, priming the artificial flowers before painting can help improve paint adhesion and create a smoother surface for painting.
Here’s how to prime the flowers:
- Acrylic Gesso or Primer: Apply a thin, even layer of acrylic gesso or primer to the surface of the flowers using a paintbrush. Allow the primer to dry completely before painting.
- Light Sanding (Optional): If the flowers have a glossy or slick surface, lightly sand them with fine-grit sandpaper before applying the primer. This will help the primer adhere better to the surface of the flowers.
By following these simple steps, you can prepare your artificial flowers for painting and ensure the best possible results. Cleaning the flowers removes any dirt or debris that could affect paint adhesion, while priming creates a smooth surface for painting.
With your flowers prepared and your materials ready, you’re now ready to dive into the exciting world of how to paint artificial flowers and unleash your creativity!
Applying Base Colors and Layers
Once you’ve applied base colors and layers to your artificial flowers, it’s time to add those final touches that will bring your painted blooms to life. Adding details and highlights is where you can really let your creativity shine, whether you’re adding delicate veins to petals or enhancing the highlights with a touch of shimmer.
Here’s how to add details and highlights to your painted flowers:
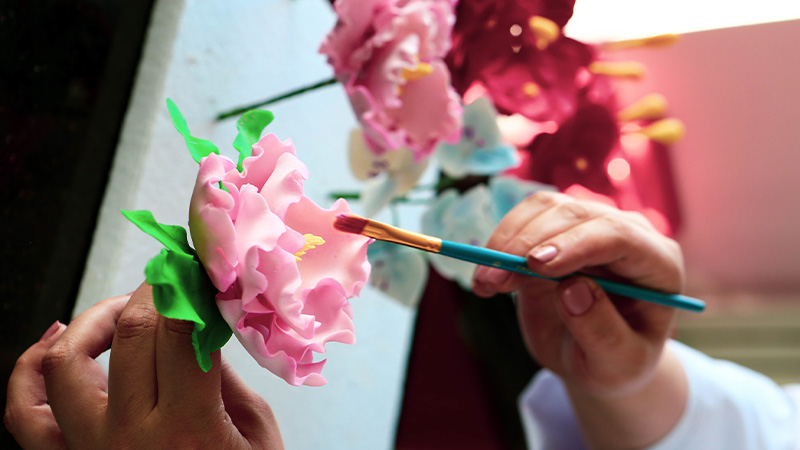
Adding Intricate Details
Adding intricate details is a crucial step in making your painted flowers look realistic and lifelike. Whether it’s the delicate veins on a petal or the tiny stamens in the center of a flower, attention to detail can make all the difference.
To add intricate details to your painted flowers, utilize fine-tipped brushes for precise control and delicate strokes.
- Choose Fine-Tipped Brushes: Select fine-tipped brushes in various sizes to add intricate details to your painted flowers. Fine-tipped brushes allow for precise control and delicate strokes, making it easier to add realistic details.
- Mix Paint for Custom Colors: Mix small amounts of paint to create custom colors for detailing. Use a palette or disposable plate to mix paints and experiment with different color combinations until you achieve the desired effect.
Enhancing Highlights
Adding highlights to your painted flowers can help create depth and dimension, making them look more vibrant and realistic. Highlights can accentuate the natural curves and contours of the petals, adding visual interest and beauty to your painted blooms. To enhance highlights on your painted flowers, use lighter shades of paint.
- Choose Lighter Shades: Select lighter shades of paint to add highlights to your painted flowers. Lighter shades should be slightly lighter than the base color and can be applied sparingly to areas where light would naturally hit, such as the tips of petals or the center of the flower.
- Blend Colors for a Seamless Finish: Blend lighter shades of paint with the base color to create a seamless transition between light and shadow. Use a dry brush technique or lightly feather the edges of the paint to achieve a smooth, natural-looking blend.
Adding details and highlights is the final step in the process of painting artificial flowers, and it’s where you can really make your blooms come to life. By paying attention to intricate details and enhancing highlights, you can create stunningly realistic and lifelike painted flowers that rival the beauty of the real thing.
Experiment with different techniques and colors to achieve the desired effect, and don’t be afraid to let your creativity shine as you learn how to paint artificial flowers!
Adding Details and Highlights
Once you’ve applied base colors and layers to your artificial flowers, it’s time to add those final touches that will bring your painted blooms to life. Adding details and highlights is where you can really let your creativity shine, whether you’re adding delicate veins to petals or enhancing the highlights with a touch of shimmer.
Here’s how to add details and highlights to your painted flowers:
Adding Intricate Details
Adding intricate details is a crucial step in making your painted flowers look realistic and lifelike. Whether it’s the delicate veins on a petal or the tiny stamens in the center of a flower, attention to detail can make all the difference. To add intricate details to your painted flowers, utilize fine-tipped brushes.
- Choose Fine-Tipped Brushes: Select fine-tipped brushes in various sizes to add intricate details to your painted flowers. Fine-tipped brushes allow for precise control and delicate strokes, making it easier to add realistic details.
- Mix Paint for Custom Colors: Mix small amounts of paint to create custom colors for detailing. Use a palette or disposable plate to mix paints and experiment with different color combinations until you achieve the desired effect.
Enhancing Highlights
Adding highlights to your painted flowers can help create depth and dimension, making them look more vibrant and realistic. Highlights can accentuate the natural curves and contours of the petals, adding visual interest and beauty to your painted blooms. To enhance highlights on your painted flowers, use lighter shades of paint.
- Choose Lighter Shades: Select lighter shades of paint to add highlights to your painted flowers. Lighter shades should be slightly lighter than the base color and can be applied sparingly to areas where light would naturally hit, such as the tips of petals or the center of the flower.
- Blend Colors for a Seamless Finish: Blend lighter shades of paint with the base color to create a seamless transition between light and shadow. Use a dry brush technique or lightly feather the edges of the paint to achieve a smooth, natural-looking blend.
Adding details and highlights is the final step in the process of painting artificial flowers, and it’s where you can really make your blooms come to life. By paying attention to intricate details and enhancing highlights, you can create stunningly realistic and lifelike painted flowers that rival the beauty of the real thing.
Experiment with different techniques and colors to achieve the desired effect, and don’t be afraid to let your creativity shine as you learn how to paint artificial flowers!
Sealing the Painted Flowers
Once you’ve completed painting your artificial flowers and added all the desired details and highlights, it’s essential to seal them to protect the paint and ensure longevity. Sealing the painted flowers will help preserve their vibrant colors and prevent them from fading or chipping over time.
Here’s how to seal your painted flowers effectively:
Choosing the Right Sealer
Choosing the right sealer is crucial for ensuring the longevity and durability of your painted flowers. There are various types of sealers available, each offering different levels of protection and finishes.
Here are some common types of sealers and their uses:
Acrylic Sealer:
- Clear Acrylic Sealer: Clear acrylic sealer is the most commonly used sealer for painted flowers. It provides a protective finish that helps prevent the paint from chipping, fading, or yellowing over time. Choose a clear acrylic sealer specifically designed for use on acrylic paints for best results.
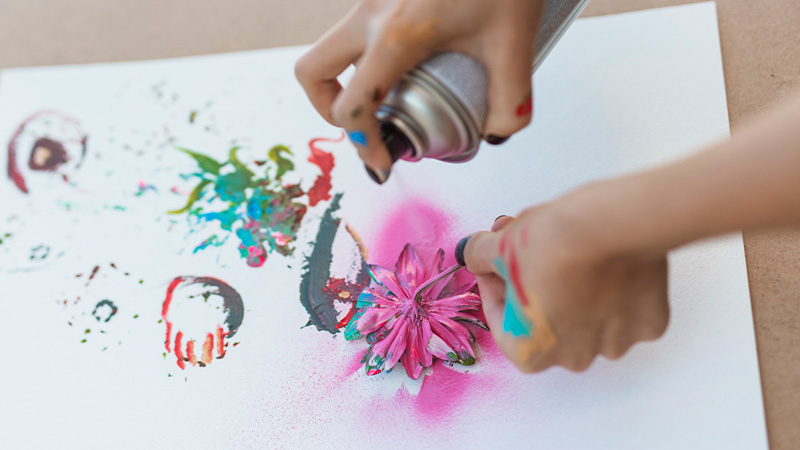
Spray vs. Brush-On Sealer:
- Spray Sealer: Spray sealers are convenient and easy to use, making them ideal for covering large areas quickly. They provide an even, uniform coat of sealer and dry quickly, allowing you to handle the flowers sooner.
- Brush-On Sealer: Brush-on sealers offer more control and precision, making them suitable for detailed or intricate areas of the painted flowers. They may take longer to dry than spray sealers but provide a thicker, more durable coat of protection.
Applying the Sealer
Once you’ve chosen the right sealer for your painted flowers, it’s time to apply it. Here’s how to apply the sealer effectively:
Preparing the Flowers:
- Ensure the Flowers are Clean and Dry: Make sure the painted flowers are clean and free of any dust, dirt, or debris before applying the sealer. If necessary, wipe them down with a clean, dry cloth or compressed air to remove any particles.
Applying the Sealer:
- Follow the Manufacturer’s Instructions: Read and follow the manufacturer’s instructions for the sealer you’re using carefully. Shake the spray can or stir the brush-on sealer thoroughly before applying to ensure proper consistency.
- Apply Evenly and in Thin Coats: Hold the spray can or brush slightly above the flowers and apply the sealer in thin, even coats. Avoid spraying or brushing too heavily, as this can cause drips or uneven coverage.
Sealing your painted flowers is an essential final step in the process of how to paint artificial flowers. By choosing the right sealer and applying it properly, you can protect your painted flowers and ensure they retain their beauty for years to come.
Experiment with different sealers and application techniques to find the best method for your painted flowers, and enjoy the vibrant, long-lasting results of your artistic endeavors!
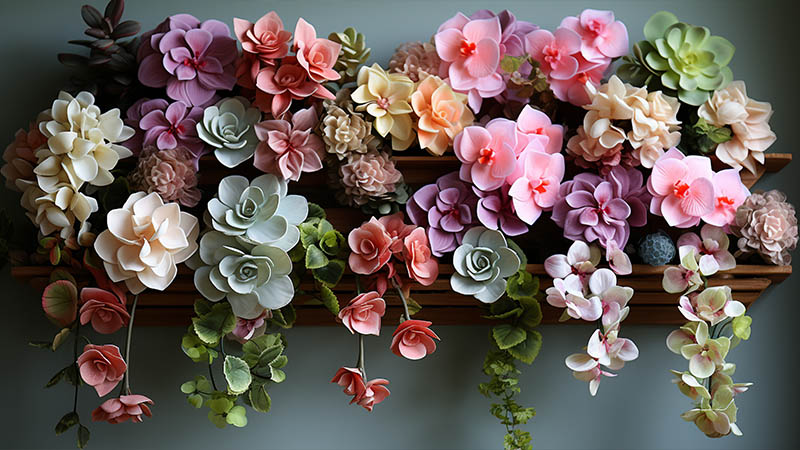
Conclusion
Painting artificial flowers is a fun and creative way to customize their appearance and add a personal touch to your home decor. By following the steps outlined in this guide, you can learn how to paint artificial flowers with confidence and achieve stunning results.
Experiment with different colors, techniques, and designs to unleash your creativity and create beautiful, one-of-a-kind floral arrangements. So gather your materials, prepare your workspace, and let your imagination bloom as you learn how to paint artificial flowers!