How to Cut Artificial Flowers: Expert Advice for Clean and Professional Results

Cutting artificial flowers might seem straightforward, but doing it correctly requires some knowledge and skill. This guide will provide expert advice on how to cut artificial flowers to achieve clean and professional results.
Whether you’re arranging a bouquet, creating a floral installation, or simply adjusting the length of the stems, this comprehensive guide will cover everything you need to know.
Essential Tools for Cutting Artificial Flowers
Essential tools are indispensable for achieving clean and precise cuts when working with artificial flowers. Having the right equipment ensures that you can handle delicate materials effectively and achieve professional-looking results.
Here are some essential tools you’ll need:

- Wire Cutters: These specialized cutters are designed to cleanly cut through the wire stems of artificial flowers, ensuring a smooth and neat finish.
- Floral Scissors: Floral scissors are ideal for trimming petals, leaves, and other delicate parts of artificial flowers with precision and accuracy.
- Measuring Tape: A measuring tape helps you accurately measure the length of stems, ensuring consistency in your floral arrangements.
- Cutting Mat: A cutting mat provides a protective surface for your work area, preventing damage to your tabletop or countertop while cutting artificial flowers.
- Marker or Tape: Using a marker or tape allows you to mark the points where you’ll make cuts on the stems, ensuring uniformity in your arrangements.
With these essential tools at your disposal, you’ll be well-equipped to tackle any cutting task when working with artificial flowers.
Read More: How to Make Artificial Flowers Look Real: A Step-by-Step Guide
Preparing Your Workspace
Preparing your workspace is essential for ensuring a smooth and efficient cutting process when working with artificial flowers. Here are some key steps to prepare your workspace effectively:
- Clear Surface: Begin by clearing a clean and flat surface to work on. Remove any clutter or unnecessary items from your workspace to provide ample room for arranging and cutting artificial flowers.
- Protective Covering: Place a cutting mat or a protective covering on your work surface to prevent scratches or damage while cutting artificial flowers. This will also make cleanup easier once you’re done.
- Good Lighting: Ensure that your workspace is well-lit to accurately see the details of the artificial flowers and make precise cuts. Natural light or a bright lamp can help illuminate your work area effectively.
- Organized Tools: Gather all the essential tools needed for cutting artificial flowers and arrange them neatly within reach. This includes wire cutters, floral scissors, measuring tape, and any other tools you may need.
- Comfortable Seating: Choose a comfortable chair or stool to sit on while working to prevent discomfort or strain during extended periods of cutting.
By following these steps to prepare your workspace, you’ll create an environment that enhances your efficiency and productivity when cutting artificial flowers.
How to Measure and Mark the Stems
Measuring and marking the stems of artificial flowers is a crucial step to ensure uniformity and precision in your arrangements. Here are some key points to consider when measuring and marking the stems:
- Consistent Length: Use a ruler or measuring tape to determine the desired length for the stems of your artificial flowers. Aim for consistency in length to create a cohesive and balanced arrangement.
- Marking Points: Once you’ve decided on the desired length, use a pencil or marker to make small marks on the stems at the measurement points. This will serve as a guide for cutting the stems accurately.
- Consider Arrangement Height: Take into account the height of the vase or container where you’ll be placing the artificial flowers. Adjust the stem length accordingly to ensure that the arrangement fits well within the container and complements the overall aesthetic.
- Leave Room for Adjustment: It’s always a good idea to leave a little extra length on the stems initially. You can trim them further if needed once you’ve arranged the flowers in the vase.
- Double-Check Measurements: Before making any cuts, double-check your measurements to ensure accuracy. It’s better to take a little extra time to confirm the measurements than to end up with uneven stems.
By following these guidelines for measuring and marking the stems of artificial flowers, you’ll be well-equipped to create beautiful and professional-looking arrangements with ease.
How to Cut Artificial Flowers: Step-by-Step
When it comes to cutting artificial flowers, following the right steps is essential to achieving clean and professional results. Here’s a step-by-step guide to cutting artificial flowers:
1. Gather Your Tools
Before diving into cutting your artificial flowers, ensure you have all the necessary tools within reach. Sharp scissors or wire cutters are essential for making clean cuts without damaging the stems. Additionally, have a ruler or measuring tape handy to help you achieve uniform stem lengths. Finally, grab a pencil or marker to mark the stems before cutting them.
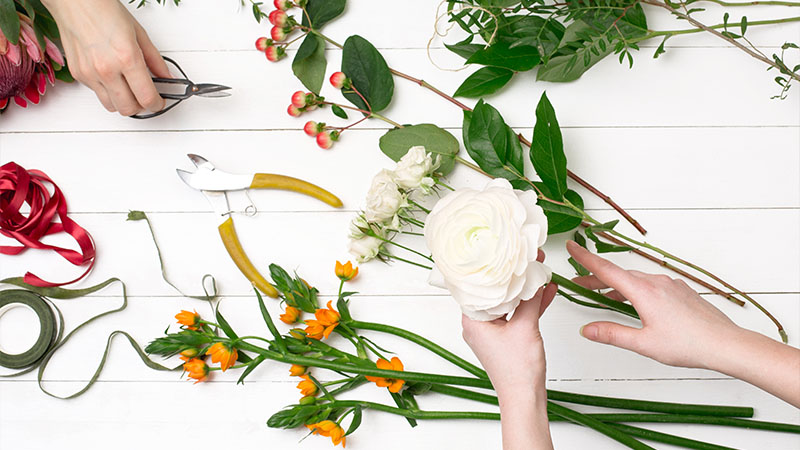
2. Prepare the Flowers
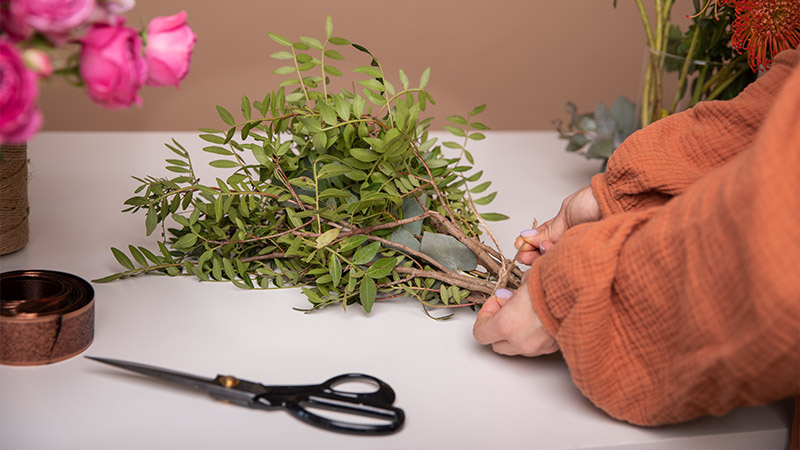
Take a moment to examine the artificial flowers closely. Identify any unwanted stems or imperfections that need to be removed before proceeding. By preparing the flowers beforehand, you’ll ensure a smoother cutting process and achieve a more polished final result.
3. Measure and Mark
Now it’s time to determine the desired length for the stems of your artificial flowers. Using a ruler or measuring tape, measure the length you want each stem to be.
Then, make small marks on the stems with the pencil or marker to indicate where you’ll be making the cuts. This step is crucial for ensuring consistency in the length of the stems.
Read More: How to Add Glitter to Artificial Flowers: Sparkling Tips and Techniques
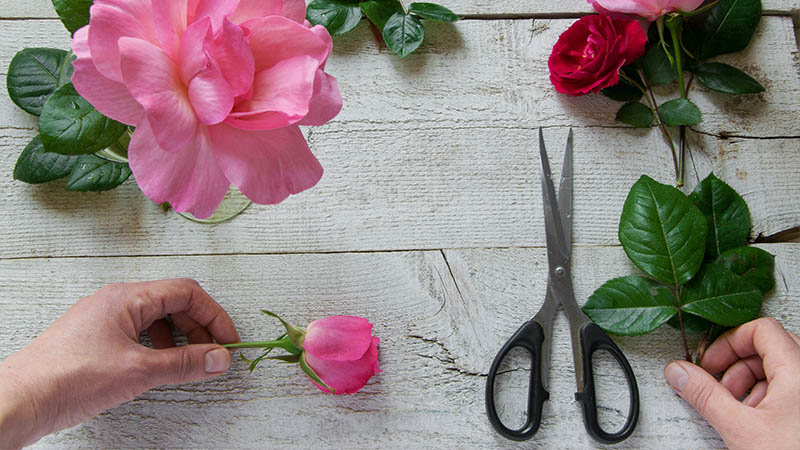
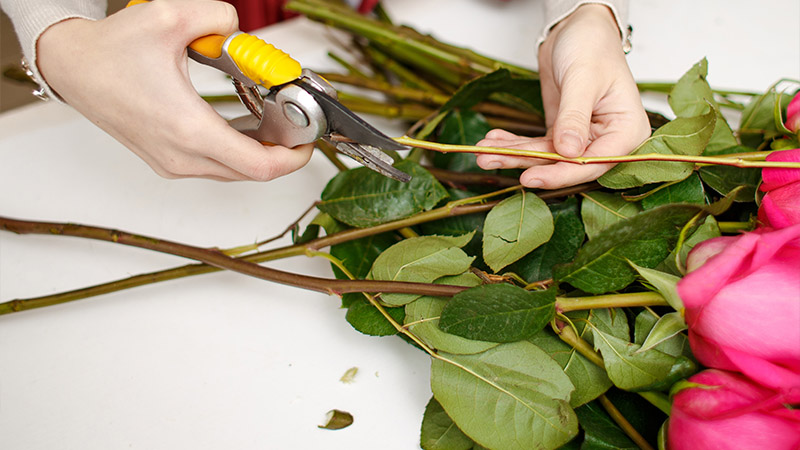
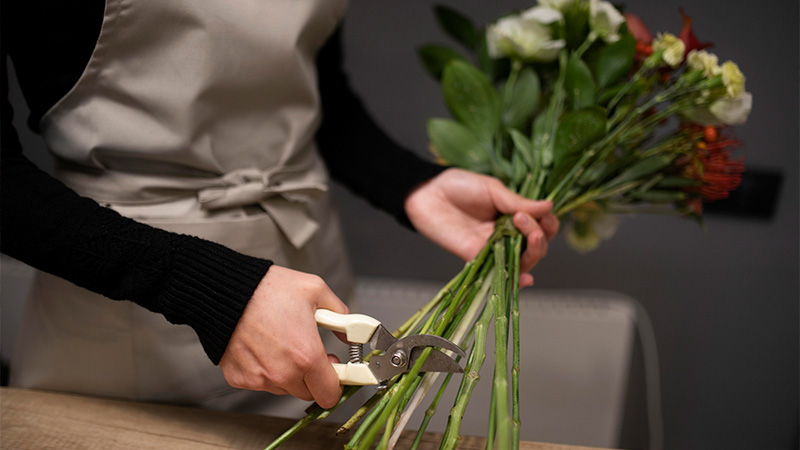
4. Cut the Stems
With your stems marked and ready to go, carefully cut each stem at the designated point. Use sharp scissors or wire cutters to make clean, straight cuts.
Take your time and work slowly to avoid any jagged edges or uneven cuts. By cutting the stems precisely, you’ll achieve a professional-looking finish that enhances the overall appearance of your arrangement.
5. Trim as Needed
After cutting the stems, place the artificial flowers in the vase or container where you plan to display them. Take a moment to assess the height of each stem in relation to the arrangement. If any stems are too long, trim them further using your scissors or wire cutters. Adjusting the stem length as needed will help create a harmonious and visually pleasing composition.
6. Arrange Your Flowers
Once you’ve trimmed the stems to the appropriate length, it’s time to arrange your artificial flowers. Experiment with different placement options, adjusting the stems until you’re satisfied with the overall look.
Pay attention to the balance and symmetry of the arrangement, ensuring that each flower complements the others. Don’t be afraid to rearrange the flowers as needed until you achieve the perfect arrangement for your space.
By following these step-by-step instructions for cutting artificial flowers, you’ll be able to create stunning arrangements with ease. Remember to work carefully and patiently to achieve the best results.
Read More: How to Attach Artificial Flowers to Wall: A Step-by-Step Guide
Tips for Cutting Different Types of Stems
Cutting different types of stems requires varying techniques to ensure clean and precise cuts. Here are some tips to help you cut artificial flowers with different stem materials:
- Plastic Stems: Use sharp scissors or wire cutters to cut through plastic stems. Apply steady pressure to make clean cuts without crushing or damaging the stems.
- Wire Stems: When cutting wire stems, use wire cutters designed for cutting metal. Position the wire cutters close to the base of the stem and make a swift, decisive cut to prevent fraying.
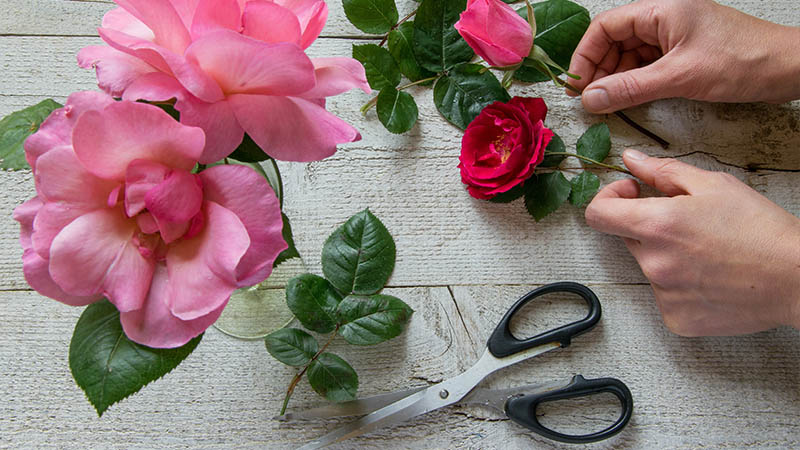
- Silk Stems: Silk stems are delicate, so it’s essential to use sharp scissors to make clean cuts. Avoid using blunt or serrated scissors, as they can cause fraying or unraveling of the silk material.
- Foam Stems: Foam stems are lightweight but can be easily crushed if not cut properly. Use a sharp utility knife or craft blade to make precise cuts, applying gentle pressure to avoid compressing the foam.
- Wooden Stems: Cutting wooden stems requires sturdy scissors or pruning shears. Position the scissors at the desired cutting point and apply firm pressure to make a clean cut without splintering the wood.
- Metal Stems: Metal stems, such as those made of aluminum or brass, require heavy-duty wire cutters or tin snips for cutting. Position the cutting tool close to the base of the stem and apply enough pressure to make a clean cut without bending the metal.
By following these tips, you can effectively learn how to cut artificial flowers with different types of stems, ensuring professional-looking results for your floral arrangements. Remember to choose the appropriate cutting tool based on the material of the stem to achieve the best outcome.
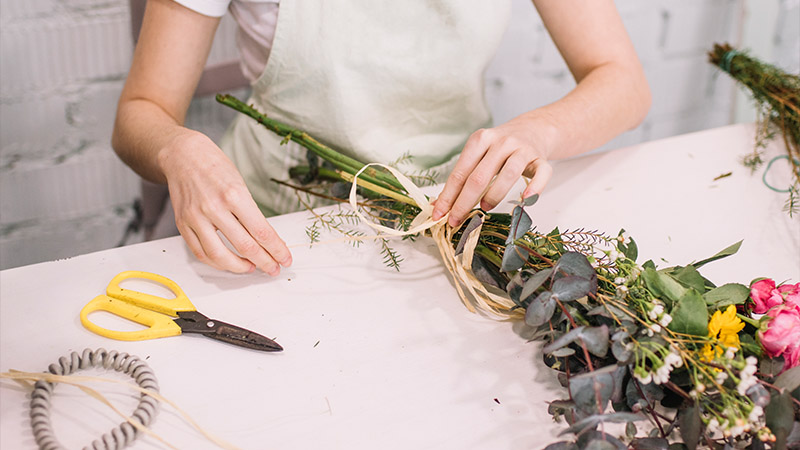
How to Secure Cut Stems
Securing cut stems is an essential step in ensuring that your artificial flower arrangements stay intact and look their best. Here are some simple yet effective methods for securing cut stems:
- Floral Tape: Wrap the floral tape tightly around the base of the stem to hold it in place and prevent it from unraveling.
- Hot Glue Gun: Apply a small amount of hot glue to the base of the stem and quickly insert it into a foam block or floral arrangement to secure it firmly.
- Wire Wrapping: Use floral wire to secure the stems together by wrapping it around the base of each stem and twisting it tightly.
- Floral Foam: Insert the cut stems into floral foam to hold them securely in place within the arrangement.
- Adhesive Putty: Apply adhesive putty to the base of the stem and press it firmly onto the desired surface to secure it in place.
These methods will help ensure that your artificial flower arrangements remain stable and well-secured, allowing you to create beautiful and long-lasting displays. When learning how to cut artificial flowers, it’s essential to consider the stem material and choose the appropriate cutting tool accordingly.
Common Mistakes to Avoid
When cutting artificial flowers, it’s essential to avoid common mistakes that can lead to unsatisfactory results. Here are some key points to keep in mind to ensure clean and professional cuts:
- Using Dull Scissors: Always use sharp scissors or wire cutters to make clean cuts without damaging the stem or petals.
- Cutting at the Wrong Angle: Cut stems at a 45-degree angle to ensure optimal water absorption and prevent wilting.
- Trimming Too Much: Avoid cutting stems too short, as this can limit your flexibility when arranging the flowers.
- Not Securing Stems Properly: Ensure that cut stems are securely fastened to the base of the arrangement to prevent them from shifting or falling out.
- Ignoring Stem Material: Consider the material of the stem when cutting, as some artificial flowers may require different cutting techniques.
- Skipping Stem Reinforcement: For heavier flowers or arrangements, reinforce stems with floral wire or tape to prevent bending or breaking.
By avoiding these common mistakes, you can achieve professional-looking results and create stunning artificial flower arrangements with ease. Remember, mastering the techniques of how to cut artificial flowers is essential for crafting beautiful and realistic floral displays.
Creative Uses for Cut Artificial Flowers
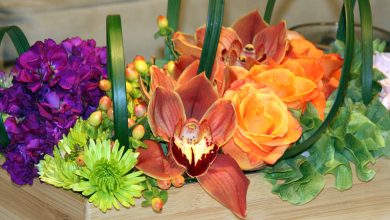
Cut artificial flowers can be used in various creative ways to enhance your home decor or DIY projects. Here are some inspiring ideas for incorporating them into your designs:
- Craft Projects: Use cut artificial flowers to embellish photo frames, wreaths, or handmade cards for a personalized touch.
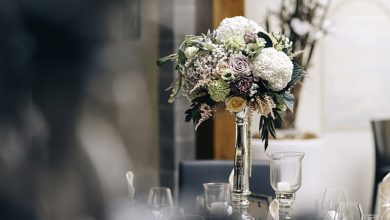
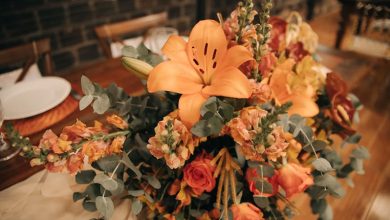
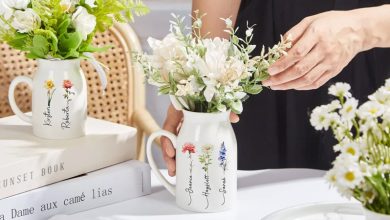
- Table Centerpieces: Create stunning floral centerpieces by arranging cut artificial flowers in vases or containers of your choice, perfect for special occasions or everyday decor.
- Hair Accessories: Glue or attach cut artificial flowers to hair clips, headbands, or combs to add a touch of floral elegance to your hairstyle.
- Wall Art: Arrange cut artificial flowers on canvas or wooden boards to create beautiful floral wall art pieces that brighten up any space.
- Cake Decorations: Use cut artificial flowers to decorate cakes or cupcakes for special events like weddings, birthdays, or baby showers, adding a unique and edible touch to your desserts.
- Fashion Accessories: Attach cut artificial flowers to brooches, bracelets, or earrings for a stylish and whimsical accessory that complements your outfit.

With a little creativity, knowing how to cut artificial flowers can transform them into versatile decorations that add beauty and charm to any setting.
Conclusion
Learning how to cut artificial flowers properly is essential for creating beautiful and professional-looking floral arrangements. By following the steps and tips outlined in this guide, you can achieve clean cuts and stunning results.
Remember to always use the right tools, measure accurately, and take your time to ensure precision. With these expert tips, you’ll be well on your way to mastering the art of cutting artificial flowers.