How to Add Glitter to Artificial Flowers: Sparkling Tips and Techniques
Adding glitter to artificial flowers can transform them into dazzling decorations, perfect for special occasions or adding a touch of sparkle to everyday decor. Whether you’re preparing for a wedding, a party, or simply want to brighten up your home, learning how to add glitter to artificial flowers is a fun and creative process. This guide provides comprehensive steps and tips to ensure your flowers sparkle beautifully.
Choosing the Right Materials
When learning how to add glitter to artificial flowers, selecting the right materials is essential for achieving a professional and lasting result.
The quality of your glitter, adhesive, and other tools will greatly impact the final appearance and durability of your glittered flowers. Let’s dive into the key components you’ll need and how to choose the best options.
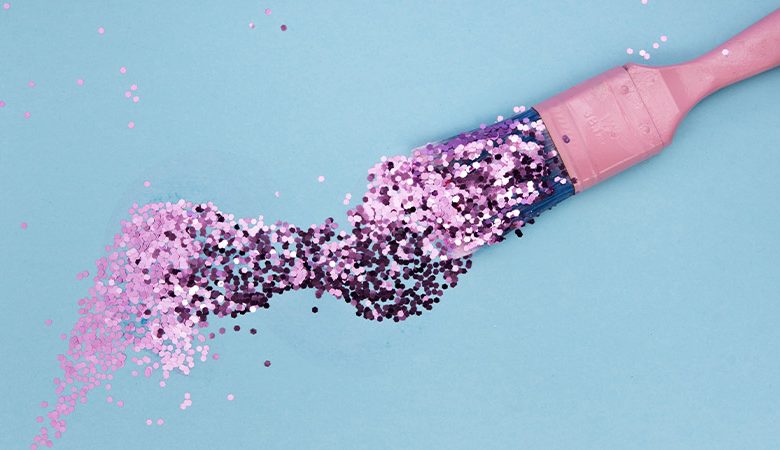
Selecting the Glitter
The type of glitter you use can make a big difference in the outcome. Here are some options to consider:


Fine Glitter
Fine glitter provides a subtle shimmer that can give your artificial flowers a delicate, elegant look. It’s perfect for creating a soft, understated sparkle.
- Benefits: Subtle shine, smooth texture.
- Tips: Ideal for small, intricate flowers or adding a hint of sparkle to larger blooms.
Chunky Glitter
Chunky glitter offers a bolder, more pronounced sparkle. It’s great for making a statement and adding a dramatic touch to your artificial flowers.
- Benefits: Bold sparkle, eye-catching.
- Tips: Best used on larger flowers or as accents on smaller ones.
Holographic Glitter
Holographic glitter gives a multi-colored, rainbow-like effect that can make your flowers look magical and unique.
- Benefits: Multi-dimensional shine, unique effect.
- Tips: Perfect for special occasions or themed decorations.
Read More: How to Cut Artificial Flowers: Expert Advice for Clean and Professional Results
Picking the Adhesive
The adhesive is crucial for ensuring the glitter sticks well and lasts. Here are some options and their uses:
Spray Adhesive
Spray adhesive provides an even coat and is easy to apply, making it a popular choice for glittering artificial flowers.
- Benefits: Even application, quick to use.
- Tips: Use in a well-ventilated area to avoid inhaling fumes.
Craft Glue
Craft glue offers strong adhesion and can be applied precisely where you need it, although it might require a bit more effort to spread evenly.
- Benefits: Strong hold, precise application.
- Tips: Use a small brush for detailed work to control the application.
Mod Podge
Mod Podge is a versatile adhesive that dries clear, making it suitable for various crafting projects, including adding glitter to artificial flowers.
- Benefits: Dries clear, versatile use.
- Tips: Apply thin layers to avoid clumping and ensure a smooth finish.
Additional Tools and Supplies
Besides glitter and adhesive, a few other tools can help you in the process of how to add glitter to artificial flowers:
Brushes
Different sizes of brushes can help with applying glue and glitter more precisely.
- Tips: Use small brushes for detailed areas and larger brushes for broad application.
Trays and Newspaper
Using trays and newspaper can help catch excess glitter and keep your workspace clean.
- Tips: Pour excess glitter back into its container for reuse.

By carefully selecting your materials and understanding their benefits, you can master how to add glitter to artificial flowers and create stunning, sparkling decorations. Whether you prefer a subtle shimmer or a bold sparkle, the right materials will make all the difference in your project.
Read More: How to Attach Artificial Flowers to Wall: A Step-by-Step Guide
Preparing Your Workspace
Before diving into the process of how to add glitter to artificial flowers, it’s essential to set up a well-organized and clean workspace. A proper setup ensures that you can work efficiently and keep your materials in good condition.
Here’s how to prepare your workspace for a glittering project:
Setting Up Your Workspace
Creating an effective workspace is crucial for the success of your glittering project. Here are some key steps to take:
- Choose a Well-Ventilated Area: Ensure your workspace is well-ventilated, especially if you are using spray adhesive. This will help disperse any fumes and keep you comfortable while working.
- Cover Your Surface: Protect your work surface by covering it with newspaper, a plastic tablecloth, or a drop cloth. This makes cleanup easier and prevents glue and glitter from sticking to your table.
- Organize Your Materials: Keep all your materials within reach. Arrange your glitter, adhesive, brushes, and artificial flowers neatly so you can easily access them during the project.
- Use Trays or Containers: Place your artificial flowers in trays or shallow containers. This will help catch excess glitter and adhesive, making it easier to reuse and reducing waste.
- Prepare Cleanup Supplies: Have a vacuum or handheld vacuum nearby to quickly clean up any spilled glitter. Wet wipes and paper towels can also be useful for cleaning up adhesive.
Notes and Tips for Preparing Your Workspace
- Lighting: Ensure you have good lighting in your workspace. Proper lighting helps you see where you’re applying glue and glitter, making your work more precise.
- Comfort: Set up a comfortable chair and make sure you have enough space to move around freely. A comfortable workspace can help you focus and work more efficiently.
- Safety: Wear an apron or old clothes to protect yourself from glue and glitter. Consider using gloves to keep your hands clean, especially if you’re working with strong adhesives.
By taking the time to properly prepare your workspace, you set yourself up for a successful project on how to add glitter to artificial flowers. A clean, organized, and comfortable workspace makes the process smoother and more enjoyable, allowing you to create beautiful, sparkling artificial flowers with ease.
Applying the Glitter
Once your workspace is prepared and materials are ready, it’s time to dive into the fun part: applying the glitter. This process can transform your artificial flowers into dazzling pieces that catch the eye and add a touch of glamour to any arrangement. Here’s a step-by-step guide on how to add glitter to artificial flowers effectively.
Step-by-Step Guide on How to Add Glitter to Artificial Flowers
- Choose Your Adhesive: Select an appropriate adhesive based on the type of glitter and artificial flower material. Common choices include spray adhesive, craft glue, or Mod Podge. For more intricate details, a glue pen can be very effective.
- Apply the Adhesive: Lightly coat the area of the flower where you want the glitter to stick. If you’re using spray adhesive, make sure to hold the can about 6-8 inches away from the flower and spray evenly.
- Sprinkle the Glitter: Gently sprinkle the glitter over the adhesive-coated areas. It’s often helpful to do this over a piece of paper or a tray to catch excess glitter that falls off, allowing you to reuse it.
- Shake Off Excess Glitter: After applying the glitter, gently shake the flower to remove any excess. This ensures that the glitter is only where you want it and prevents clumping.
- Set the Glitter: Let the adhesive dry completely. Depending on the adhesive used, this can take anywhere from a few minutes to a couple of hours. To secure the glitter further, you can apply a light coat of clear spray sealant.
Notes and Tips for Applying the Glitter
- Layering Glitter: For a more intense sparkle, you can apply multiple layers of glitter. Simply repeat the adhesive and glitter application steps after each layer dries.
- Using Multiple Colors: To create a more dynamic and eye-catching design, consider using multiple colors of glitter. Apply one color at a time, allowing each to dry before adding the next.
- Detail Work: For detailed work on small or intricate parts of the flower, use a fine-tipped glue pen and a small brush to apply the glitter precisely.
- Avoid Overloading: Be careful not to overload the flower with too much glitter at once. It’s better to build up layers gradually to prevent the flower from becoming too heavy or the glitter from clumping.
By following these steps and tips on how to add glitter to artificial flowers, you can create stunning, sparkly decorations that brighten up any space.
Whether you’re preparing for a special event or just adding some shimmer to your home decor, glittering your artificial flowers is a simple and effective way to make them stand out.
Sealing the Glitter
After applying glitter to your artificial flowers, it’s crucial to seal it properly to ensure the glitter stays in place and doesn’t shed over time. Sealing the glitter not only preserves your hard work but also maintains the sparkle and prevents mess. Here’s how to add glitter to artificial flowers and seal it effectively.
Steps to Seal the Glitter
- Choose the Right Sealant: There are various types of sealants you can use, such as clear spray sealant, Mod Podge, or a specialized glitter sealant. Choose one that suits your project needs.
- Apply a Light Coat: Hold the sealant spray can about 6-8 inches away from the flower and spray a light, even coat. If you’re using a brush-on sealant like Mod Podge, apply a thin layer over the glitter using a soft brush.
- Let It Dry Completely: Allow the sealant to dry completely before handling the flowers. Drying times vary depending on the type of sealant used, so refer to the product instructions for specific details.
- Repeat If Necessary: For extra durability, you might want to apply a second coat of sealant. Just make sure the first coat is completely dry before adding another.
Notes and Tips for Sealing the Glitter
- Avoid Clumping: Apply sealant in light coats to prevent the glitter from clumping together.
- Test First: If you’re unsure about how the sealant will affect the appearance of your glittered flowers, test it on a small, inconspicuous area first.
- Use in a Well-Ventilated Area: Always use spray sealants in a well-ventilated area to avoid inhaling fumes.
- Protect Your Work Surface: Lay down newspaper or a drop cloth to protect your work surface from any overspray or drips.
- Check for Dryness: Ensure that the glitter and adhesive are completely dry before applying the sealant to avoid smearing.
By following these steps on how to add glitter to artificial flowers and sealing it properly, you can enjoy beautifully sparkling flowers that retain their shimmer and elegance for a long time. This final step is essential in making sure your glittering efforts last and look polished.
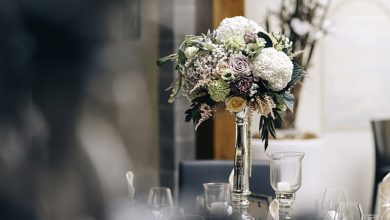
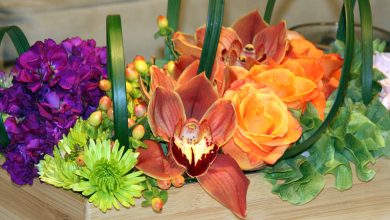
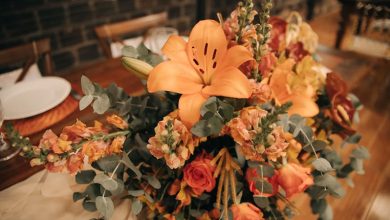
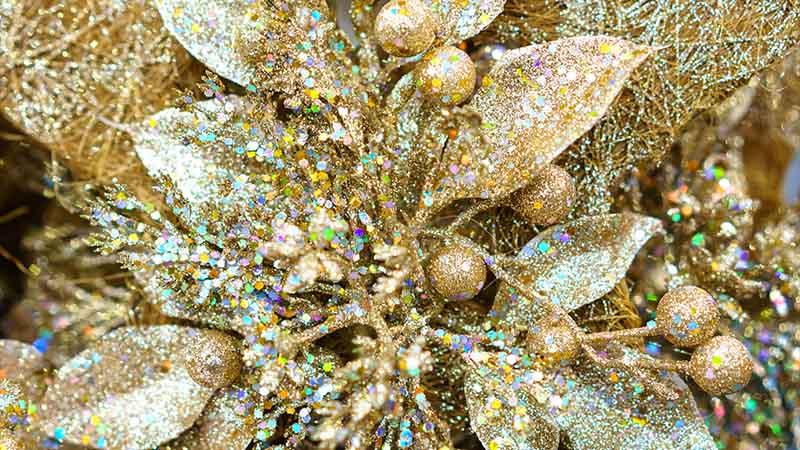
Creative Ideas for Glittered Flowers
Adding glitter to artificial flowers opens up a world of creative possibilities. Whether you’re looking to enhance your home decor, create dazzling centerpieces, or craft unique gifts, glittered flowers can bring a touch of sparkle and charm to any project. Here are some imaginative ideas on how to add glitter to artificial flowers and use them effectively.
Creative Uses for Glittered Flowers
- Holiday Decorations: Use glittered flowers to make festive wreaths, garlands, and table centerpieces for holidays like Christmas, New Year’s Eve, or Valentine’s Day. The sparkle adds a festive touch to your decor.
- Wedding Decor: Incorporate glittered flowers into bridal bouquets, boutonnières, and table arrangements to add a touch of glamour to wedding celebrations.
- Party Decorations: Brighten up birthday parties, baby showers, or anniversary celebrations with glittered flower arrangements that match the theme and color scheme of the event.
- Home Decor Accents: Place glittered flowers in vases around your home to add a touch of elegance to your living room, dining area, or bedroom. They can also be used in decorative wall hangings or as part of a centerpiece on your coffee table.
- Craft Projects: Use glittered flowers in scrapbooking, card making, or other craft projects. They add a beautiful, sparkling element that makes your creations stand out.
- Gift Embellishments: Attach glittered flowers to gift boxes or bags to add a special, personalized touch to your presents.
Notes for Using Glittered Flowers
- Color Coordination: Choose glitter colors that complement the color scheme of your project. Silver, gold, and iridescent glitters are versatile options that work well with most colors.
- Layering Techniques: Experiment with layering different types of glitter for a multidimensional effect. Fine glitter can provide a subtle shimmer, while chunky glitter adds bold, eye-catching sparkle.
- Balancing Sparkle: To avoid overwhelming your design with too much glitter, balance glittered flowers with non-glittered elements. This creates a harmonious and visually appealing look.
- Maintenance Tips: Keep glittered flowers looking fresh by regularly dusting them with a soft brush or cloth. Handle them gently to preserve the glitter coating.

By exploring these creative ideas on how to add glitter to artificial flowers, you can transform simple floral arrangements into stunning decorative pieces. Whether for special occasions or everyday decor, glittered flowers add a unique and enchanting touch to any setting.
Conclusion
Learning how to add glitter to artificial flowers opens up a world of creative possibilities for enhancing home decor, crafting unique gifts, and adding sparkle to special occasions. By following the tips and techniques outlined above, you can create dazzling floral arrangements that bring a touch of glamour to any space.
Whether you’re decorating for holidays, weddings, or everyday enjoyment, glittered flowers offer an easy and effective way to elevate your decor and express your personal style. With a bit of creativity and imagination, you can transform simple artificial flowers into stunning, eye-catching masterpieces that captivate and inspire.