How to Attach Artificial Flowers to Wall: A Step-by-Step Guide
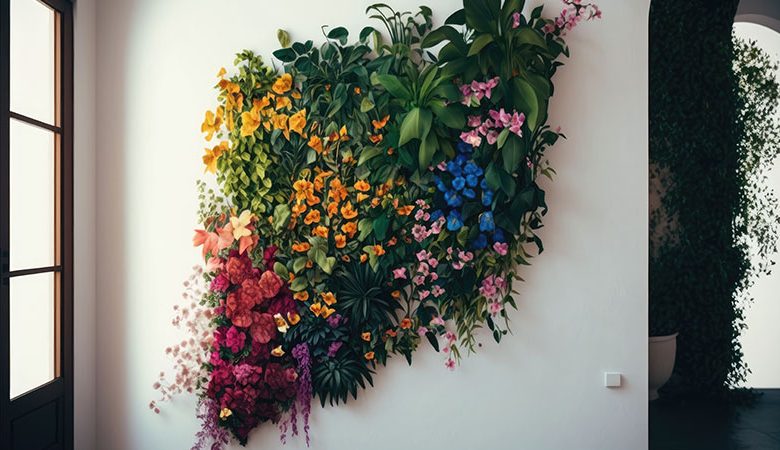
Decorating your walls with artificial flowers can add charm and personality to any room in your home. Whether you’re looking to create a floral accent wall or simply add a pop of color, how to attach artificial flowers to the wall is a simple and fun DIY project.
In this comprehensive guide, we’ll walk you through the step-by-step process of attaching artificial flowers to your wall, along with some tips and tricks to ensure a beautiful result.
1. Choose Your Flowers and Wall Placement
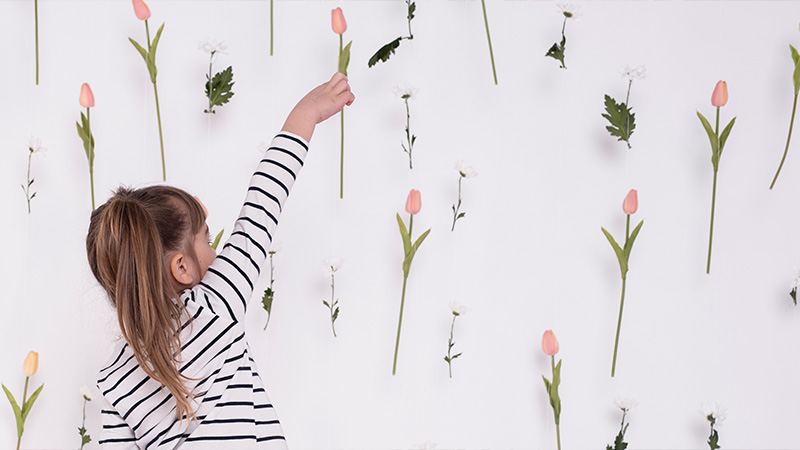
When it comes to attaching artificial flowers to your wall, the first step is to choose the flowers you want to use and determine where on the wall you want them to be placed. Consider the overall aesthetic you want to achieve and the size and color of the flowers that will complement the space. Once you’ve made your selections, it’s time to decide on the placement.
Here are some sub-subheadings and their explanations to help guide you through this process:


- Assess Wall Space: Take a look at the wall where you intend to attach the artificial flowers. Consider factors such as size, shape, and existing decor to determine the best placement for your floral arrangement.
- Choose a Focal Point: Identify a focal point on the wall where you want the flowers to draw attention. This could be a blank space, above a piece of furniture, or as part of a gallery wall.
- Consider Balance and Symmetry: Think about the overall balance and symmetry of the wall arrangement. You may want to arrange the flowers evenly across the wall or create a more asymmetrical layout for visual interest.
- Test Placement: Before attaching the flowers permanently, use removable adhesive strips or tape to test different placement options. This will allow you to experiment with different arrangements without damaging the wall.
By following these steps in the article, how to attach artificial flowers to the wall, you can ensure that your artificial flowers are placed in the perfect spot on your wall, creating a beautiful and harmonious display.
Read More: How to Add Glitter to Artificial Flowers: Sparkling Tips and Techniques
2. Gather Your Materials
Before you begin attaching artificial flowers to your wall, it’s essential to gather all the necessary materials. Having everything you need on hand will make the process smoother and more efficient. Here are some essential materials to gather:
- Artificial flowers: Choose high-quality artificial flowers that match your aesthetic preferences and the style of your space.
- Command strips or adhesive hooks: These will be used to attach the flowers to the wall without causing damage.
- Scissors or wire cutters: You may need to trim the stems of the artificial flowers to achieve the desired length.
- Tape measure: Use a tape measure to ensure accurate placement and spacing of the flowers on the wall.
- Pencil: Marking the wall lightly with a pencil can help guide you during the attachment process.
- Optional: Hot glue gun or floral wire: Depending on the weight of your flowers and the surface of your wall, you may need additional reinforcement to secure them in place.
Gathering these materials beforehand will help you stay organized and prepared as you embark on the process of how to attach artificial flowers to the wall. This will ensure a smooth and efficient experience.
3. Prepare Your Flowers
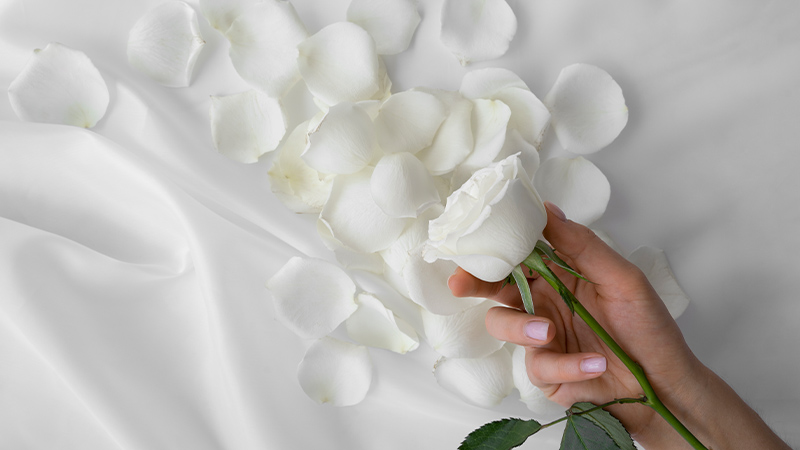
Before attaching artificial flowers to your wall, it’s crucial to prepare them properly to ensure they look their best and adhere securely. Here are some steps to prepare your flowers:
- Clean the flowers: Remove any dust or debris from the artificial flowers using a soft brush or a damp cloth. This will help ensure a clean and polished appearance once they’re attached to the wall.
- Trim the stems: Use scissors or wire cutters to trim the stems of the artificial flowers to your desired length. Make sure to cut them evenly so that the flowers sit flush against the wall.
- Arrange the flowers: Lay out the artificial flowers in the desired arrangement before attaching them to the wall. This will give you a better idea of how they will look once they’re in place and allow you to make any necessary adjustments.
- Optional: Add embellishments: If desired, you can enhance the appearance of the artificial flowers by adding embellishments such as glitter, ribbon, or faux leaves. This can add an extra touch of flair to your wall decor.

Taking the time to prepare your artificial flowers properly will ensure a smooth and successful how to attach artificial flowers to the wall process, resulting in a beautiful and visually appealing display on your wall.
Read More: How to Cut Artificial Flowers: Expert Advice for Clean and Professional Results
4. Attach Command Strips or Adhesive Hooks
When it comes to how to attach artificial flowers to a wall, using command strips or adhesive hooks can be an effective and damage-free method. Here are some steps to follow:
- Clean the wall: Before applying the command strips or adhesive hooks, make sure the wall surface is clean and dry. Use a mild cleaning solution to remove any dirt, dust, or grease that may interfere with the adhesion.
- Position the strips/hooks: Determine the placement of the artificial flowers on the wall and position the command strips or adhesive hooks accordingly. Make sure they are evenly spaced and aligned properly.
- Apply the strips/hooks: Peel off the backing from the command strips or adhesive hooks and firmly press them onto the wall surface. Make sure to follow the instructions provided by the manufacturer for optimal adhesion.
- Allow time to set: Once the command strips or adhesive hooks are in place, allow them to set for the recommended amount of time before hanging the artificial flowers. This will ensure a secure attachment and prevent them from falling off.
Using command strips or adhesive hooks to attach artificial flowers to your wall is a simple and hassle-free method that allows for easy removal and repositioning. Just be sure to follow the instructions carefully to ensure a secure and long-lasting hold.
Read More: How to Clean Artificial Silk Flowers: Easy and Effective Methods
5. Arrange and Attach Your Flowers
Arranging and attaching your artificial flowers to the wall is the final step in creating a beautiful display. Here are some tips to help you with this process:
- Arrange the flowers: Before attaching them to the wall, arrange the artificial flowers in the desired pattern or design. Experiment with different layouts until you find one that you’re happy with.
- Secure the flowers: Once you’ve arranged the flowers, use hot glue or a strong adhesive to attach them to the command strips or adhesive hooks on the wall. Apply a small amount of adhesive to the back of each flower and press firmly onto the wall for a secure hold.
- Allow time to dry: After attaching the flowers to the wall, allow the adhesive to dry completely before handling or adjusting the display. This will ensure that the flowers stay in place and don’t come loose.
- Add embellishments: To enhance the look of your flower arrangement, consider adding additional embellishments such as ribbon, beads, or glitter. These can be attached using the same adhesive used for the flowers.
By following these steps, you can create a stunning floral display on your wall, incorporating the art of how to attach artificial flowers to the wall. This beautiful addition adds beauty and charm to any room in your home.
6. Step Back and Admire Your Work
After completing the process of attaching artificial flowers to your wall, it’s time to step back and admire your handiwork. Here are some tips to consider as you take in your newly decorated space:
- Evaluate the arrangement: Take a moment to step back and evaluate the placement and arrangement of the artificial flowers on the wall. Make any necessary adjustments to ensure that the display looks balanced and visually appealing.
- Consider lighting: Pay attention to how natural and artificial light interacts with your floral arrangement. Positioning the flowers in a well-lit area can help enhance their colors and overall appearance.
- Take photographs: Capture images of your completed floral display from different angles and distances. This will allow you to appreciate your work from various perspectives and share it with others.
- Enjoy the beauty: Finally, take the time to enjoy the beauty and ambiance that your artificial flower arrangement brings to your space. Whether it’s in your living room, bedroom, or hallway, let the floral decor uplift and inspire you.
By following these steps, you can create a stunning floral display on your wall, incorporating the art of how to attach artificial flowers to the wall. This beautiful addition adds beauty and charm to any room in your home.
7. Maintenance and Care
Now that your artificial flowers are beautifully adorning your wall, it’s important to maintain their appearance to ensure they continue to enhance your space. Here are some maintenance and care tips to keep in mind:
- Dust regularly: Just like any other decorative item, artificial flowers can accumulate dust over time. Use a soft brush or a feather duster to gently remove dust from the petals and leaves.
- Spot clean as needed: If you notice any stains or spots on your artificial flowers, use a damp cloth or sponge to gently clean the affected areas. Avoid using harsh chemicals or abrasive cleaners, as these can damage the fabric or material of the flowers.
- Protect from direct sunlight: Direct sunlight can cause the colors of artificial flowers to fade over time. If possible, place your floral arrangement in a location where it won’t be exposed to prolonged periods of sunlight.
- Store properly: If you ever need to remove your artificial flowers from the wall for storage or transportation, be sure to store them in a cool, dry place away from direct sunlight and moisture. This will help preserve their appearance and extend their lifespan.
- Refresh as needed: Over time, artificial flowers may start to lose their shape or vibrancy. If you notice any signs of wear or deterioration, consider replacing individual flowers or rearranging the arrangement to maintain its overall appearance.
By following these maintenance and care tips, you can ensure that your artificial flowers, whether directly attached to the wall or arranged in a wall-mounted container, remain looking fresh and beautiful for years to come. This includes both general care practices and techniques specific to how to attach artificial flowers to the wall.
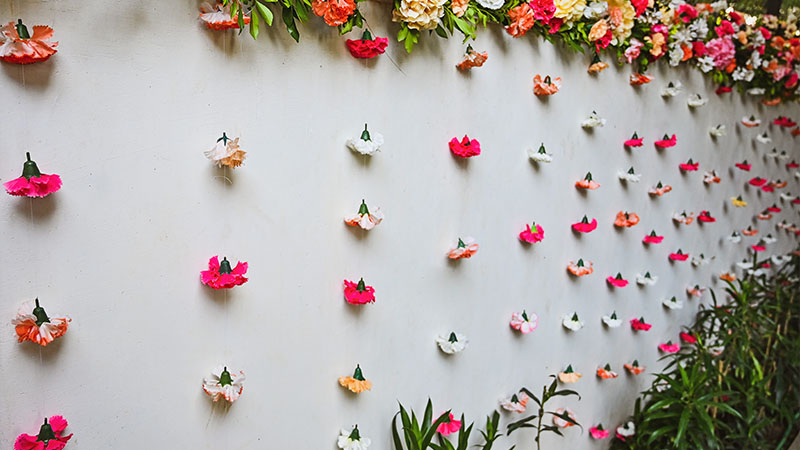
Experimenting with Arrangements
When it comes to decorating your walls with artificial flowers, experimenting with different arrangements can add an extra layer of creativity and personalization to your space. Whether you’re aiming for a minimalist look or a bold statement, there are countless ways to arrange your flowers to achieve the desired effect.
Here are some tips for experimenting with arrangements:
- Mix and Match Colors and Textures: Don’t be afraid to mix and match different colors and textures to create visual interest on your wall. Consider combining flowers in complementary or contrasting colors to add depth and dimension to your arrangement. You can also mix different types of flowers, such as roses, daisies, and tulips, to create a more dynamic look.
- Play with Height and Size: Experimenting with the height and size of your flowers can help create a more balanced and visually appealing arrangement. Try arranging flowers of varying heights to add depth and movement to your display. You can also mix larger flowers with smaller ones to create a more layered effect.
- Consider the Space: When experimenting with arrangements, consider the space where your flowers will be displayed. Think about the size and shape of the wall, as well as any existing decor or furniture nearby. You may need to adjust the arrangement to fit the space and ensure that it complements the overall aesthetic of the room.
- Try Different Layouts: Don’t feel limited to arranging your flowers in a traditional grid or line. Get creative and try different layouts, such as clusters, spirals, or asymmetrical designs. Play around with the placement of each flower until you find a layout that feels balanced and visually appealing.
- Take Inspiration from Nature: Look to nature for inspiration when experimenting with arrangements. Pay attention to how flowers grow and cluster together in nature, and try to replicate these patterns in your arrangement. You can also incorporate other natural elements, such as branches or leaves, to add a touch of realism to your display.
By following these tips and experimenting with different arrangements, you can create a stunning and unique display of artificial flowers on your wall. Don’t be afraid to get creative and have fun with the process – after all, decorating should be an enjoyable and fulfilling experience!
Conclusion
Learning how to attach artificial flowers to the wall opens up a world of possibilities for adding beauty and personality to your living space. By following the step-by-step guide outlined above, you can easily transform any wall into a stunning floral display.
Whether you opt for a simple arrangement or a more elaborate design, the process is simple and straightforward, making it accessible to DIY enthusiasts of all skill levels.
So, gather your materials, unleash your creativity, and let your walls bloom with the beauty of artificial flowers. With a little effort and imagination, you can create a charming and eye-catching focal point that will delight both residents and visitors alike.