How to Make a Flower Wall Backdrop?

Creating a stunning flower wall backdrop can add elegance and charm to any event or space. Whether you’re planning a wedding, bridal shower, photo shoot, or simply looking to enhance your home decor, crafting your own flower wall backdrop allows you to customize the design to suit your style and vision.
In this comprehensive guide, we’ll explore step-by-step instructions and creative ideas for how to make a flower wall backdrop that will impress your guests and elevate any setting.
Planning Your Design
Before diving into the process of how to make a flower wall backdrop, taking the time to plan your design is crucial to ensuring a successful outcome. Here’s how to approach the planning process:
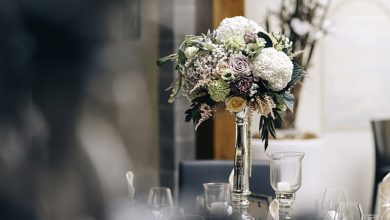
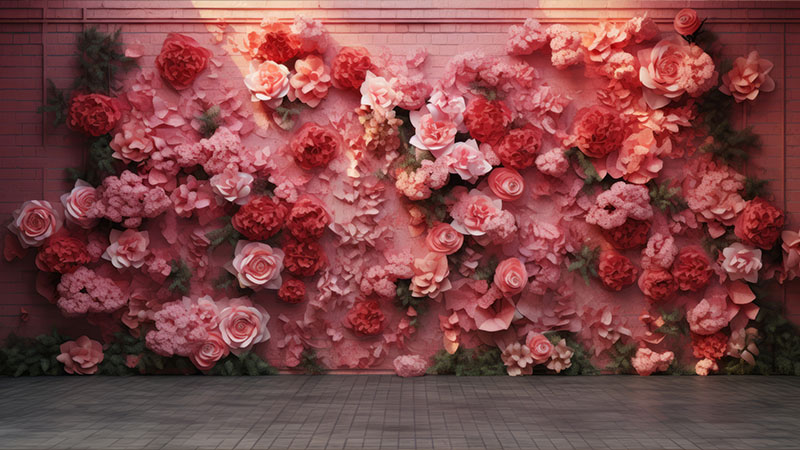
Choosing a Color Scheme
Selecting a color scheme sets the tone for your flower wall backdrop and ties it in with the overall theme of your event or space. Consider the following factors when choosing your color palette:


- Event theme: Match the colors of the backdrop to the theme of your event, such as wedding colors or party decor.
- Venue decor: Coordinate the backdrop colors with the existing decor of the venue to create a cohesive look.
- Personal preference: Opt for colors that resonate with your personal style and preferences, ensuring that the backdrop reflects your aesthetic vision.
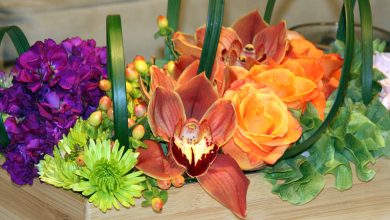
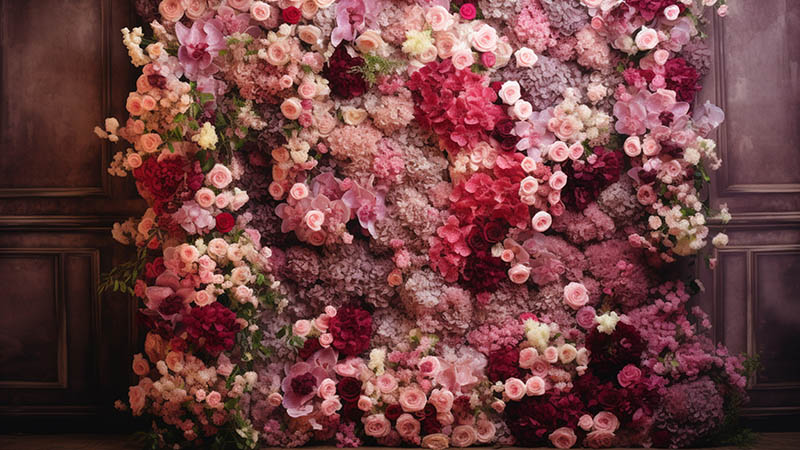
Selecting Flower Types and Styles
The types and styles of flowers you choose for your backdrop play a significant role in its overall appearance. Consider the following factors when selecting flowers for your design:
- Flower types: Choose artificial flowers that complement your color scheme and event theme, such as roses, peonies, or hydrangeas.
- Flower size and shape: Select flowers of varying sizes and shapes to add depth and dimension to your backdrop, creating visual interest.
- Arrangement style: Decide on the arrangement style for your flowers, whether it’s a uniform pattern, cascading design, or asymmetrical layout, based on your desired aesthetic.
Read More: How to Make a Flower Arrangement with Artificial Flowers: A Step-by-Step Guide
Determining the Size of the Backdrop
The size of your flower wall backdrop depends on factors such as the available space, the intended use, and the visual impact you want to achieve. Consider the following guidelines when determining the size of your backdrop:
- Measure the space: Take precise measurements of the area where you plan to install the backdrop to ensure it fits appropriately.
- Consider the focal point: Determine whether the backdrop will serve as a focal point or a complementary accent in the space, adjusting the size accordingly.
- Visual impact: Aim for a size that makes a statement while still allowing room for other elements in the room or event setup.
How to make a flower wall backdrop is all about careful planning to achieve a visually stunning and appropriate centerpiece for your event or space. By considering these factors during the planning stage, you can create a flower wall backdrop that not only meets your aesthetic preferences but also enhances the overall atmosphere.
Gathering Materials and Supplies
Once you have a clear plan for your flower wall backdrop design, it’s time to gather the necessary materials and supplies to bring your vision to life. Here’s what you’ll need:
- Artificial Flowers: Choose high-quality artificial flowers that match your color scheme and desired aesthetic. Consider the types of flowers, such as roses, peonies, or hydrangeas, and select a variety of sizes and shapes to create depth and dimension in your backdrop.
- Floral Foam or Sturdy Backing: You’ll need a sturdy backing to attach the artificial flowers to. Options include floral foam panels, plywood, or foam boards. Make sure the backing is large enough to accommodate the size of your backdrop and can support the weight of the flowers.
- Hot Glue Gun and Glue Sticks: A hot glue gun is essential for securely attaching the artificial flowers to the backing. Choose a high-quality glue gun and ensure you have plenty of glue sticks on hand to complete the project.
- Scissors or Wire Cutters: Use scissors or wire cutters to trim the stems of the artificial flowers to your desired length. Having a sharp pair of scissors or wire cutters will make the process easier and ensure clean cuts.
- Optional Embellishments: Consider adding additional embellishments to enhance the visual appeal of your flower wall backdrop. This could include greenery, ribbons, faux foliage, or decorative elements like pearls or crystals. Be creative and personalize your backdrop to suit your style and preferences.
- Protective Gear: When working with hot glue and sharp objects, it’s essential to prioritize safety. Wear protective gloves to protect your hands from burns and cuts, and work in a well-ventilated area to avoid inhaling fumes from the glue gun.

Gathering these materials and supplies ensures you have everything you need to create a stunning flower wall backdrop, perfect for any DIY project on how to make a flower wall backdrop. This backdrop will impress your guests and elevate any event or space.
Read More: How to Hang a Flower Wall Backdrop: A Comprehensive Guide
Preparing the Backing
Before you can start arranging your artificial flowers, it’s essential to prepare the backing of your flower wall backdrop. Proper preparation ensures a sturdy foundation and makes the process of attaching the flowers much smoother. Here’s how to prepare the backing:
- Choose a Sturdy Surface: Select a sturdy surface for the backing of your flower wall backdrop. Options include plywood, foam boards, or floral foam panels. Ensure the backing is large enough to accommodate the size of your desired backdrop and can support the weight of the artificial flowers.
- Secure the Backing: If using plywood or foam boards, secure them to a wall or frame using nails, screws, or heavy-duty adhesive. Make sure the backing is firmly attached to prevent it from shifting or falling during the flower arrangement process.
- Attach Floral Foam Panels: If using floral foam panels, soak them in water for several minutes to hydrate them before attaching them to the backing. Once hydrated, secure the floral foam panels to the backing using floral adhesive or hot glue, ensuring they are evenly spaced and tightly secured.
- Create a Smooth Surface: Once the backing is in place, smooth out any rough edges or uneven surfaces to create a clean and uniform backdrop for your flower arrangement. Use sandpaper or a sanding block to gently sand down any imperfections and ensure a smooth finish.
- Consider Adding a Protective Layer: To protect the backing and prevent moisture damage, consider adding a layer of waterproof sealant or plastic sheeting before attaching the artificial flowers. This extra layer adds durability and longevity to your flower wall backdrop.
How to make a flower wall backdrop is all about preparing the backing first. This sets the stage for the rest of the construction process. By following these steps, you’ll create a sturdy and stable foundation for arranging your artificial flowers and ensure a successful end result.
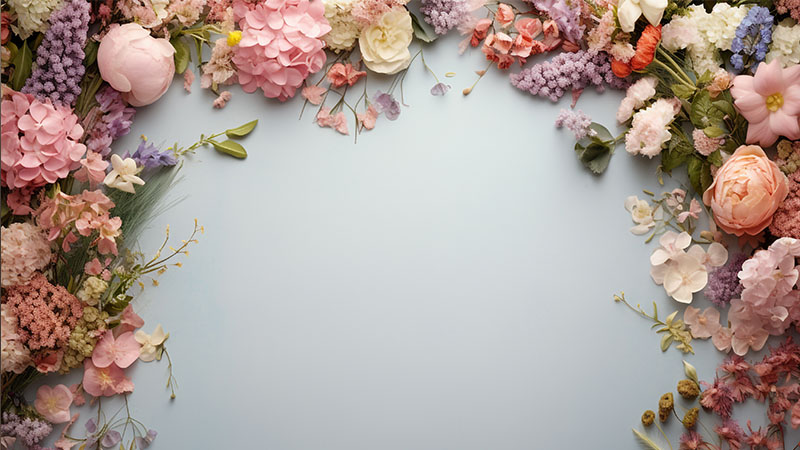
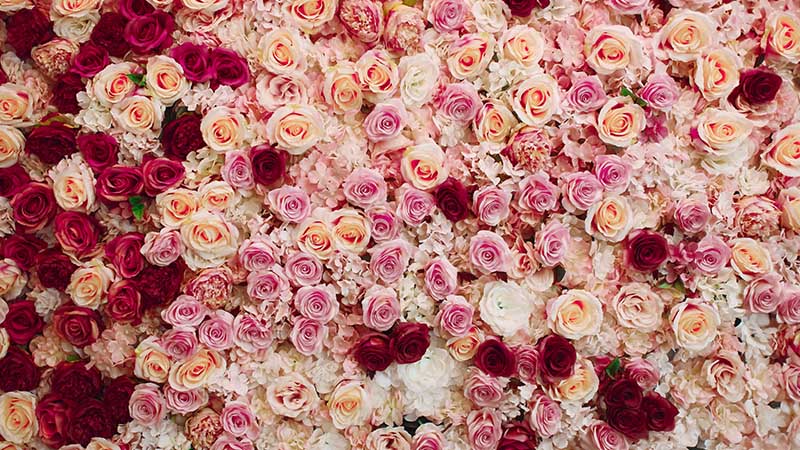
Arranging the Flowers
Once you’ve prepared the backing for your flower wall backdrop, it’s time to start arranging the artificial flowers. This step requires creativity and attention to detail to achieve a visually appealing and cohesive design. Here’s how to arrange the flowers for your backdrop:
- Select a Focal Point: Begin by selecting a focal point for your flower wall backdrop, such as the center or top of the backing. This focal point will anchor your design and guide the placement of the rest of the flowers.
- Start with Larger Flowers: Start arranging the flowers by placing larger blooms or focal flowers at the chosen focal point. Position these flowers strategically to create a balanced and visually appealing composition.
- Layer the Flowers: Layer smaller flowers and greenery around the larger blooms to add depth and texture to the arrangement. Experiment with different combinations and placements to achieve the desired look.
- Consider Color and Texture: Pay attention to the color and texture of the artificial flowers as you arrange them. Mix and match different flower varieties and colors to create contrast and visual interest in your backdrop.
- Fill in Gaps: As you arrange the flowers, be mindful of any gaps or empty spaces in the design. Fill in these gaps with additional flowers, greenery, or decorative elements to create a lush and full-looking backdrop.
- Step Back and Evaluate: Periodically step back and evaluate your flower arrangement from a distance to ensure it looks balanced and cohesive. Make any necessary adjustments to the placement of the flowers to achieve the desired effect.
How to make a flower wall backdrop is a creative process that allows you to express your personal style and vision. By following these tips and techniques, you’ll create a stunning floral display that enhances any event or space.
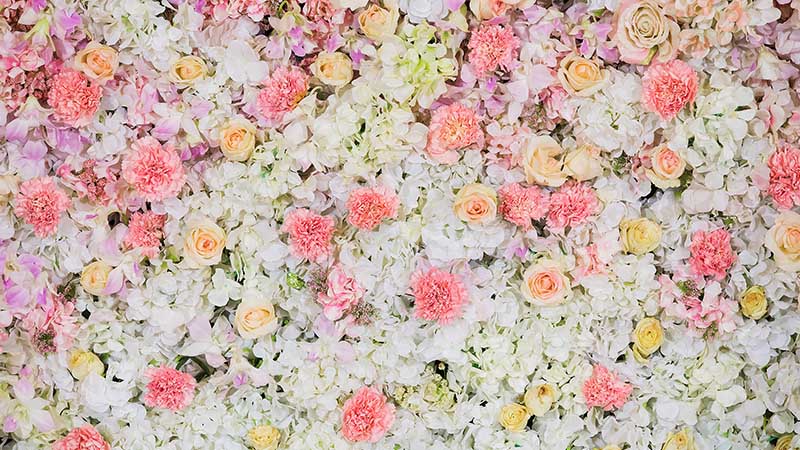
Adding Greenery and Embellishments
Incorporating greenery and embellishments into your flower wall backdrop can enhance its overall aesthetic and add depth to the design. Whether you prefer a lush and verdant backdrop or a more minimalist look, adding greenery and embellishments allows you to customize your backdrop to suit your style. Here’s how to incorporate greenery and embellishments into your flower wall backdrop:
- Choose Complementary Greenery: Select greenery that complements the artificial flowers you’ve chosen for your backdrop. Opt for a mix of foliage, such as eucalyptus, ferns, or ivy, to add texture and dimension to the arrangement.
- Arrange Greenery Around Flowers: Arrange the greenery around the artificial flowers, tucking the stems into the floral foam or securing them with floral wire or hot glue. Distribute the greenery evenly throughout the backdrop to create a balanced and cohesive look.
- Layer Different Types of Greenery: Experiment with layering different types of greenery to create depth and visual interest in your flower wall backdrop. Mix and match foliage with varying shades of green and different leaf shapes to achieve a natural and organic look.
- Add Embellishments for Extra Flair: Enhance your flower wall backdrop with embellishments such as faux butterflies, birds, or decorative accents. These embellishments add whimsy and charm to the arrangement and can be strategically placed to highlight certain areas of the backdrop.
- Consider Texture and Scale: When adding greenery and embellishments, consider the texture and scale of each element to ensure they complement the overall design. Incorporate a variety of textures and sizes to create a dynamic and visually appealing backdrop.
- Step Back and Assess: Periodically step back and assess your flower wall backdrop as you add greenery and embellishments. Make any necessary adjustments to the placement of the elements to achieve the desired look and feel.
How to make a flower wall backdrop allows you to customize the design and create a one-of-a-kind backdrop for any event or occasion. Adding greenery and embellishments to your flower wall backdrop allows you to customize the design and create a one-of-a-kind backdrop for any event or occasion.
With a bit of creativity and attention to detail, you can transform your backdrop into a stunning focal point that enhances the ambiance of any space.
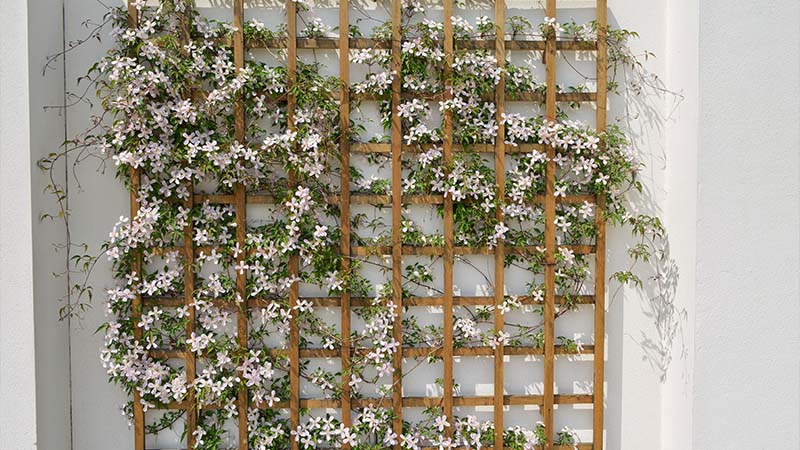
Displaying and Enjoying Your Flower Wall Backdrop
After following this guide on how to make a flower wall backdrop, it’s time to display it and enjoy the stunning results. Whether you’re using it as a backdrop for photos, a focal point at an event, or a decorative accent in your home, your flower wall backdrop is sure to make a memorable impression on all who see it.
With these step-by-step instructions and creative ideas, you now have the knowledge and inspiration to create your own stunning flower wall backdrop. Whether you’re a seasoned crafter or trying your hand at DIY projects for the first time, making a flower wall backdrop is a rewarding and enjoyable endeavor that will add beauty and charm to any space or occasion.
Tips for Creating a Stunning Flower Wall Backdrop
The way how to make a flower wall backdrop can be a fun and rewarding DIY project that adds a touch of elegance to any event or space.
To help you achieve the best results, here are some valuable tips for how to make a flower wall backdrop:
- Choose High-Quality Artificial Flowers: Opt for high-quality artificial flowers that closely resemble real blooms. Look for flowers with vibrant colors, realistic details, and durable materials to ensure a lifelike and long-lasting backdrop.
- Plan Your Design Carefully: Before you start assembling your flower wall backdrop, take the time to plan out your design. Consider factors such as color scheme, flower placement, and overall aesthetics to create a cohesive and visually appealing backdrop.
- Use a Sturdy Backing Material: Select a sturdy backing material, such as plywood or foam board, to support your flower arrangement. This will ensure that your backdrop remains stable and secure, especially if you’re planning to transport or display it outdoors.
- Invest in Quality Tools and Supplies: Invest in quality tools and supplies, such as floral foam, wire cutters, and hot glue guns, to make the assembly process easier and more efficient. Having the right tools on hand will help you create a professional-looking flower wall backdrop.
- Consider the Venue and Lighting: Take into account the venue and lighting conditions where your flower wall backdrop will be displayed. Consider factors such as natural light, artificial lighting, and the surrounding decor to ensure that your backdrop complements its environment.
- Add Dimension and Texture: Incorporate dimension and texture into your flower wall backdrop by layering different types of flowers, greenery, and embellishments. This will create depth and visual interest, making your backdrop more visually appealing.
- Take Your Time and Enjoy the Process: Creating a flower wall backdrop is a labor of love, so take your time and enjoy the process. Experiment with different flower arrangements, color combinations, and design elements until you achieve the perfect look for your backdrop.
- Seek Inspiration and Guidance: Don’t hesitate to seek inspiration and guidance from online tutorials, floral design books, or professional florists. Drawing inspiration from others can help spark your creativity and provide valuable insights into creating a stunning flower wall backdrop.
- Practice Proper Maintenance and Care: Once your flower wall backdrop is complete, practice proper maintenance and care to ensure its longevity. Regularly dusting and cleaning the flowers, as well as storing the backdrop in a cool, dry place when not in use, will help preserve its beauty for years to come.
By following these tips, you can create a stunning flower wall backdrop that adds a touch of beauty and elegance to any space or event. Let your creativity flourish as you bring your vision to life and enjoy the beauty of your handcrafted masterpiece.
Conclusion: Elevate Your Event with a Gorgeous Flower Wall Backdrop
How to make a flower wall backdrop is a fantastic way to add beauty, elegance, and a touch of nature to any event or space. With careful planning, attention to detail, and a little creativity, you can design a stunning backdrop that becomes the focal point of your venue.
Whether you’re planning a wedding, a photo shoot, or a special occasion, a flower wall backdrop offers endless possibilities for customization and personalization.
By following the tips outlined in this guide and letting your creativity bloom, you can create a captivating backdrop that leaves a lasting impression on your guests and enhances the ambiance of your event.
So, roll up your sleeves, gather your materials, and let your imagination run wild as you embark on the journey of creating your very own flower wall masterpiece.